
Table of Contents
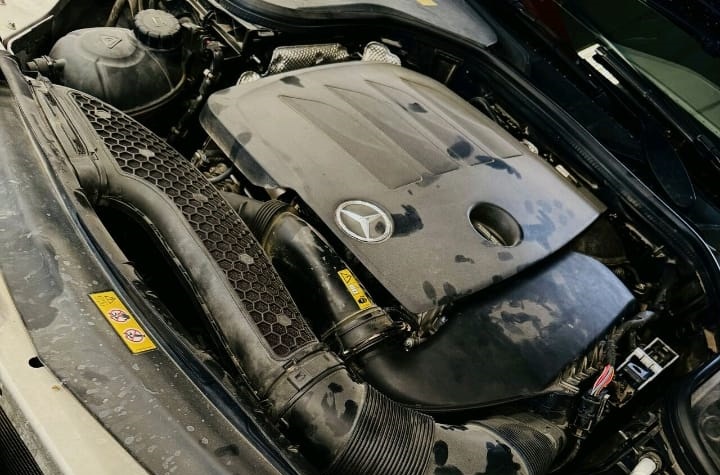
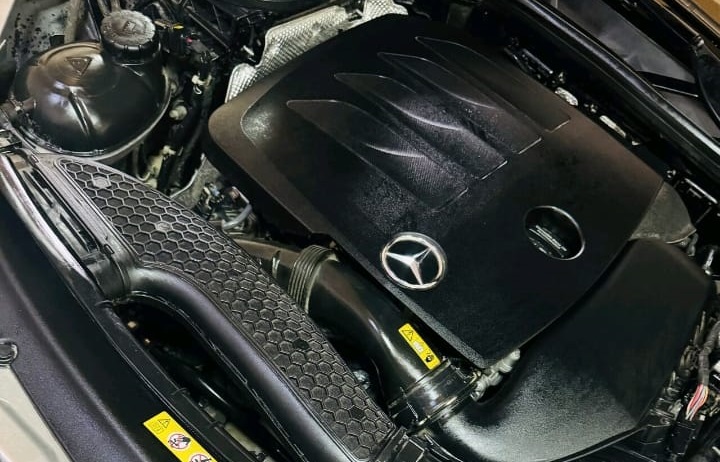
Case Study: Mercedes-Benz C300 Coolant Leak with M264 Engine
Coolant leaks are one of the most common yet critical issues that can affect vehicles of all types, from budget models to luxury cars like the Mercedes-Benz C300 equipped with the Engine M264.
In this case study, we’ll explore a real-life repair scenario where a Mercedes-Benz C300 developed a persistent coolant leak. You’ll learn about the symptoms, diagnostic steps, repair process, and final resolution, along with expert insights on why addressing coolant leaks promptly is so important.
The Customer Complaint
The owner of a Mercedes-Benz C300 noticed that the coolant level warning repeatedly illuminated on the dashboard. Despite topping up the coolant regularly, the level continued to drop. Eventually, the car began to show early signs of overheating, which raised serious concerns about potential engine damage.
To avoid further risks, the owner brought the car to a Mercedes-Benz dealership for a professional inspection and repair.
Initial Inspection and Testing
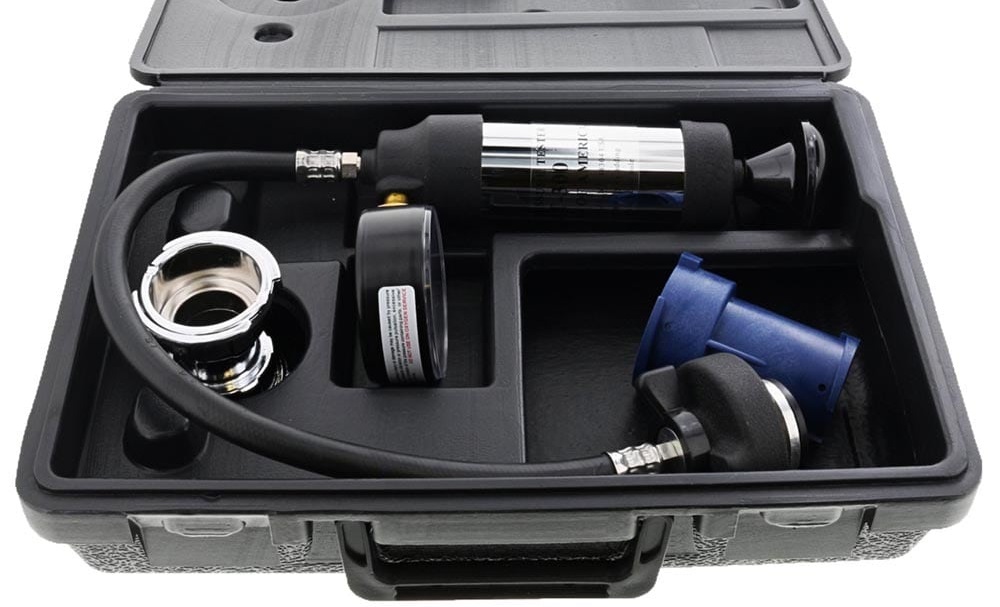
Step 1: Pressure Test
The first diagnostic step was to use a coolant pressure tester. This tool pressurizes the cooling system to simulate real driving conditions, helping identify leaks that may not be visible during idle checks.
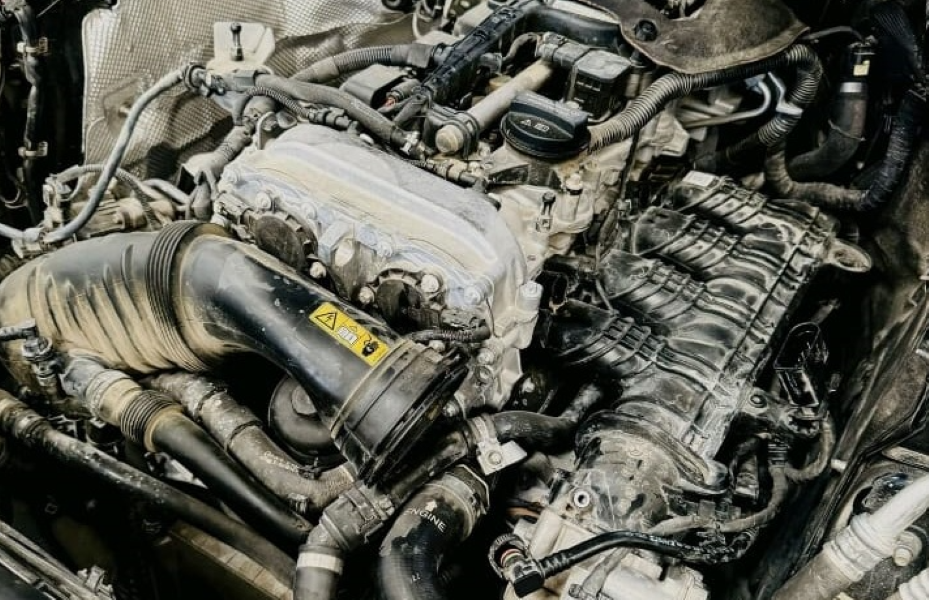
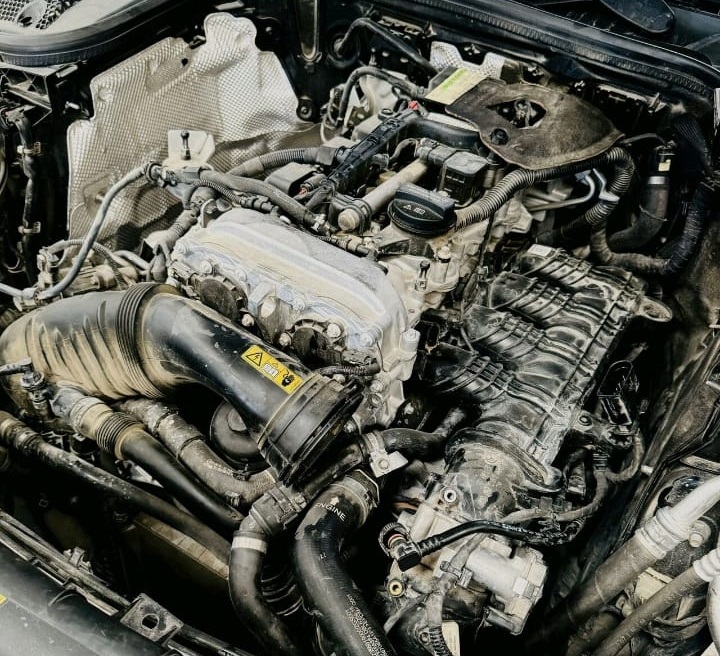
Step 2: Visual Checks
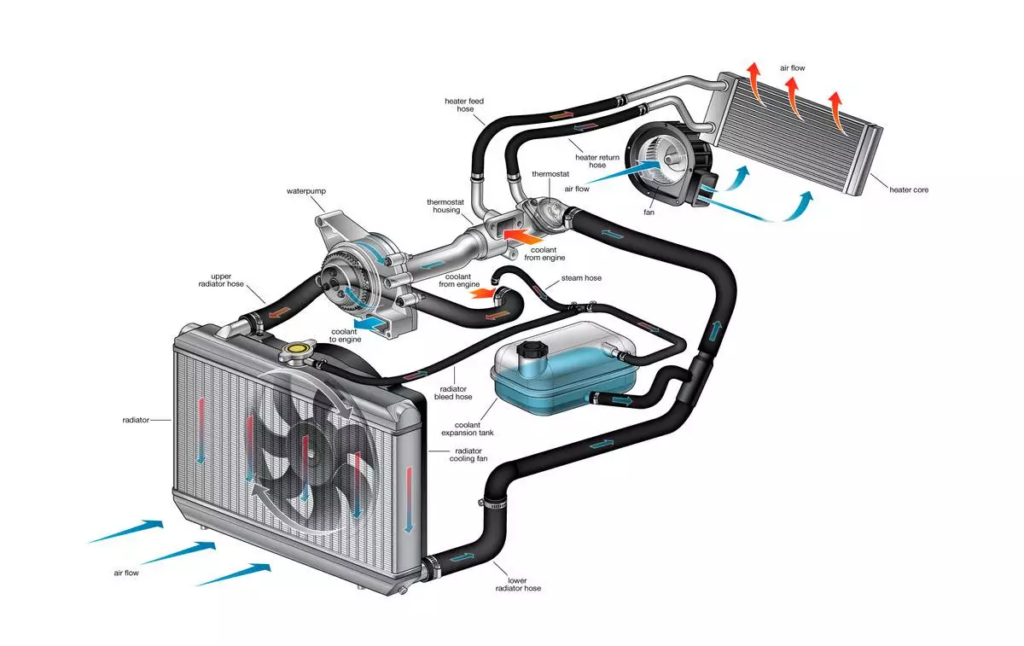
The technician performed a detailed inspection of the cooling system components:
- – Radiator Checked for leaks, cracks, or corrosion.
- – Water Pump Inspected seals and bearings for coolant seepage.
- – Heater Core Ensured no leaks were sending coolant into the cabin.
- – Thermostat Housing & Gasket Examined for cracks or degraded seals.
- – Head Gasket Checked for internal leaks (coolant in oil, white smoke from exhaust).
Identifying the Leak
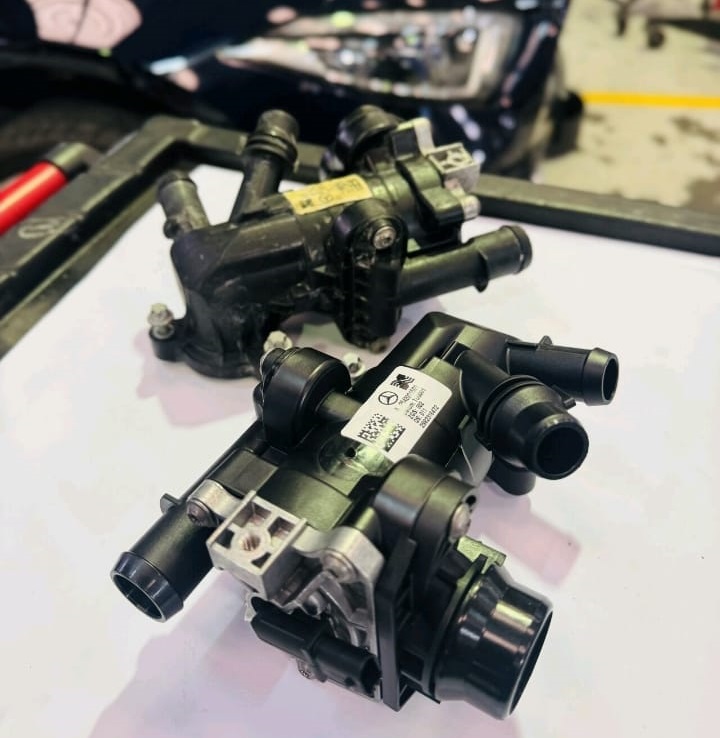
The inspection revealed that the thermostat housing and gasket were the source of the leak.
- – The thermostat housing regulates coolant flow to maintain proper engine operating temperature.
- – A leak here compromises cooling efficiency, leading to overheating and repeated coolant loss.
This finding meant that the thermostat housing and gasket had to be replaced to restore the cooling system’s integrity.
Repair Process
Step 1: Draining the Coolant
The technician first drained the old coolant to prevent spillage and contamination. This also provided a clean work environment.
For readers looking for detailed DIY guidance on draining and replacing coolant, check our full guide: [How to replace engine coolant?]
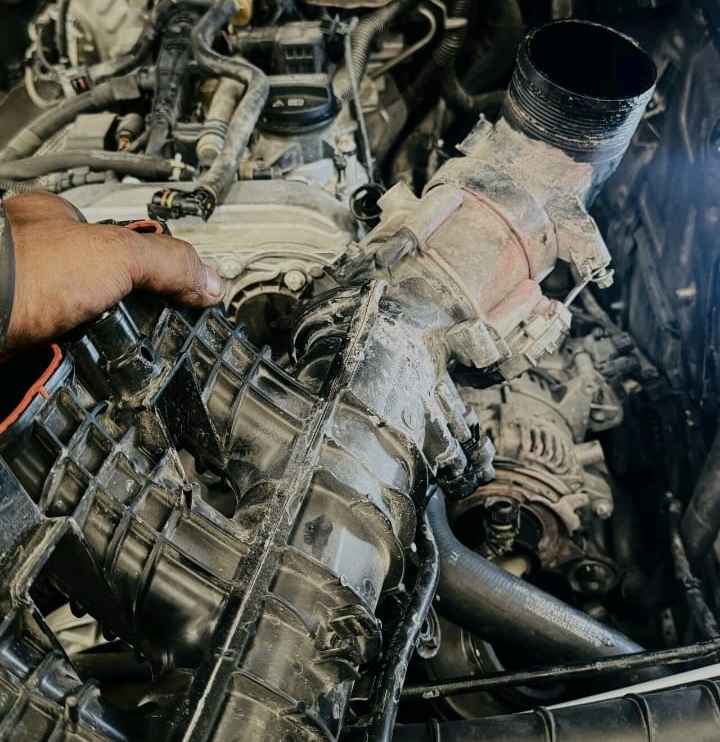
Step 2: Replacing the Thermostat Housing and Gasket
- – Removing Damaged Components: The technician carefully removed the thermostat housing and the worn gasket.
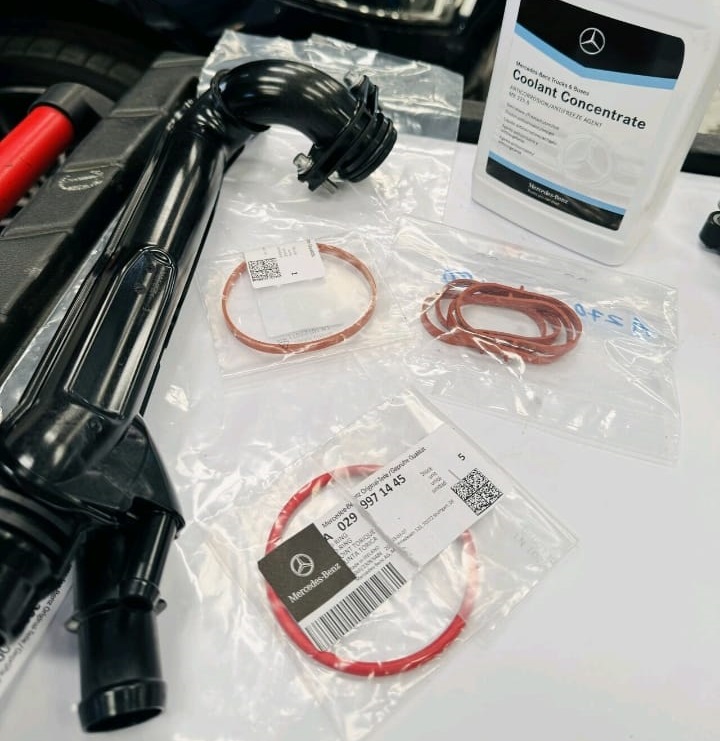
- – Installing New Parts: Genuine Mercedes-Benz parts were fitted to ensure proper sealing and long-term durability.
Step 3: Refilling the Cooling System
Once the repair was complete, the cooling system was refilled with the correct type and quantity of Mercedes-Benz approved coolant. Using the right coolant is critical to prevent corrosion and ensure optimal engine performance.
Step 4: Bleeding and Retesting
To remove any trapped air pockets, the system was bled thoroughly. Air pockets left inside can cause overheating and fluctuating coolant levels.
Finally, the pressure tester was used again. This time, the cooling system held pressure perfectly, confirming that the coolant leak had been successfully resolved.
Quick Reference: Symptom–Cause–Fix Table
| Symptom | Likely Cause | Repair Solution |
|---|---|---|
| Coolant level warning light repeatedly on | Leak in cooling system | Inspect system, locate source with pressure test |
| Coolant stains near thermostat housing | Cracked housing or worn gasket | Replace thermostat housing & gasket |
| Overheating engine | Coolant loss, reduced circulation | Replace faulty part and refill coolant |
| White smoke from exhaust | Possible head gasket failure | Inspect gasket, confirm with diagnostic tests |
| Sweet smell in cabin | Heater core leak | Replace heater core |
Why Coolant is Essential
Every car owner knows that fuel powers the engine, but fewer realize how crucial coolant is for its longevity and performance.
Coolant, also known as antifreeze, serves three main purposes:
- – Regulates Temperature Prevents overheating in summer and freezing in winter.
- – Prevents Corrosion Protects aluminum, steel, and gasket materials inside the engine.
- – Lubricates Components Keeps water pump and seals operating smoothly.
Without coolant, your engine would quickly overheat, leading to catastrophic damage such as a warped cylinder head or blown gasket.
Post-Repair Insights
Mercedes-Benz technicians emphasize that coolant leaks in the M264 engine are often linked to thermostat housing wear.
Key Takeaways for Owners:
- – Don’t ignore coolant warnings Even small leaks can cause major damage if left unchecked.
- – Use genuine replacement parts OEM thermostat housings and gaskets ensure the best fit and reliability.
- – Schedule regular inspections A cooling system check during routine service can catch early leaks.
Conclusion
This case study of a Mercedes-Benz C300 with the M264 engine highlights the importance of precise diagnostics and professional repairs when dealing with coolant leaks.
By identifying the exact source of the leak (thermostat housing and gasket) and replacing it with genuine parts, the technician restored the car’s cooling efficiency and prevented overheating.
For C-Class owners, the lesson is clear: regular maintenance and prompt repairs are the best defense against engine damage and costly repairs.
More Mercedes Cooling System Resources
Want to explore more causes, symptoms, and repair tips for coolant leaks, overheating, and contamination?
Learn more about Mercedes cooling system faults in our full Cooling System Guide.
Frequently Asked Questions (FAQ)
Q1: What are the most common causes of coolant leaks in the Mercedes C300 (M264)?
Most leaks come from the thermostat housing, water pump, radiator, or hoses. Over time, seals and plastic components degrade and lose their ability to hold pressure.
Q2: Can I keep driving my car with a coolant leak?
It’s not recommended. Driving with a coolant leak risks overheating, warped cylinder heads, and engine failure. Always get it inspected immediately.
Q3: How much does it cost to fix a coolant leak in a C300?
Replacing a thermostat housing and gasket typically costs $400–$700 with OEM parts, depending on labor rates. More complex leaks (head gasket, heater core) are more expensive.
Q4: How do I know if my coolant system has air pockets after a repair?
Symptoms include fluctuating coolant levels, overheating at idle, or gurgling noises in the heater core. Proper bleeding solves the issue.
Q5: What type of coolant should I use for a Mercedes C300?
Always use Mercedes-Benz approved coolant (MB Spec 325.0 or 325.6). Using generic antifreeze may cause corrosion and reduce system lifespan.
Author
Written by: Mercedes Expert
Automotive Technical Trainer & Mercedes-Benz Diagnostic Specialist
With years of hands-on experience repairing and diagnosing Mercedes-Benz vehicles, specializes in case-study-based troubleshooting guides that blend workshop accuracy with educational clarity.
Last Updated: August 2025
