Table of Contents
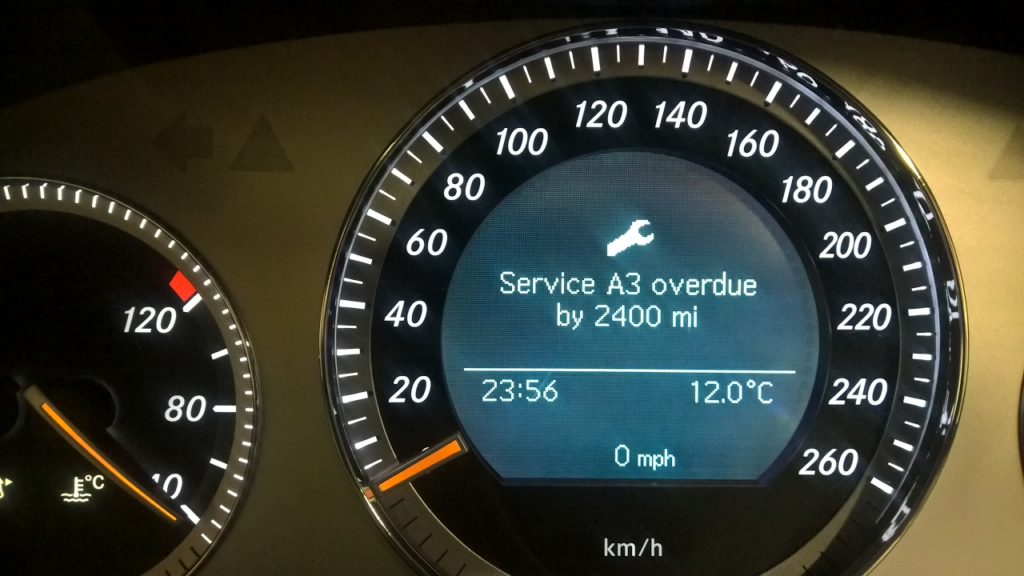
Service A in Mercedes C300
Service A in Mercedes C300 is the first scheduled maintenance service in the Flexible Service System (FSS). It’s designed to keep your vehicle running smoothly, addressing essential items like oil changes, brake inspections, tire checks, and fluid corrections.
Performed every 10,000 miles or 12 months, Service A is more than routine upkeep it’s your first line of defense against expensive repairs.
For a complete overview of maintenance intervals and service schedules, see our Mercedes Maintenance and Service Guide.
What’s Included in Service A?
| Task | Details |
|---|---|
| Oil & Filter Change | Replace engine oil + OEM oil filter (MB 229.x spec) |
| Fluid Level Checks | Brake, coolant, windshield washer, and steering fluids |
| Tire Inspection | Check tread depth, pressure, and spare tire |
| Brake Inspection | Visual check of pads, discs, and lines |
| Maintenance Counter Reset | Reset service indicator in the instrument cluster |
| Additional Checks | Cabin air filter, wiper blades, lighting (as required) |
Frequency & Cost
- – Interval: Every 10,000 miles or 12 months (whichever comes first).
- – Cost: $200–$400 on average (varies by location and service center).
Tip: Get quotes from multiple Mercedes-Benz service centers or trusted German specialists for competitive pricing.
Variations: A1, A2, A3 Services
Mercedes adds sub-codes (A1, A2, A3…) to Service A, each requiring extra tasks depending on mileage and age.
- – A1: Basic Service A tasks → oil change, fluids, tire & brake inspection.
- – A2: A1 + cabin filter replacement, detailed brake check, battery test, underbody inspection.
- – A3: A1 + A2 + spark plugs, transmission fluid check, coolant flush, suspension inspection.
Cost Estimates
- – Service A1: $200–$400
- – Service A2: $300–$500
- – Service A3: $400–$700
Oil change in mercedes C300 ?
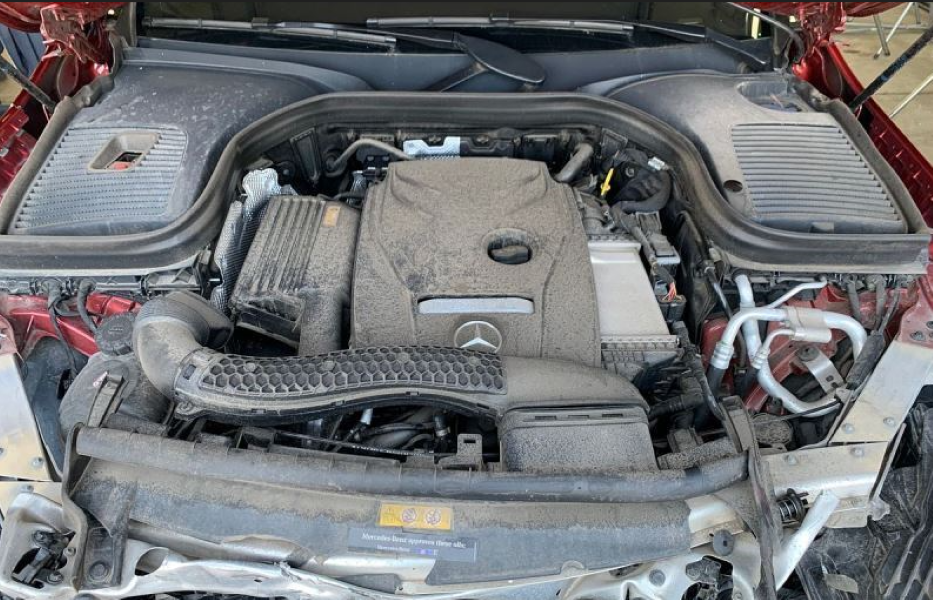
Oil change in Mercedes C300 equipped with an engine M274
to change mercedes c300 engine oil, follow the following steps;


Step 1 : Remove
- – Bring the engine to temperature. Coolant temperature at least 80°C.
- – Remove the dipstick (4) from its tube (5) and wipe it with a lint-free cloth. The dipstick (4) and its tube (5) can be located at the front or rear of the engine, depending on the series.
- – Suck the engine oil through the dipstick tube (5) using the engine oil suction device.
- – Unscrew the screw cap of the oil filter (1). Unscrew the cover of the oil filter (1) from the oil filter housing so that the engine oil can drain from the oil filter and the oil filter housing.
- – Remove the cap from the oil filter (1).
- – Replace the oil filter cartridge (2).
- – Replace the gaskets (3).
Step 2 : Place
- – Screw on the oil filter cover (1).
- – Remove the engine oil suction device.
- – Insert a clean dipstick (4) into the dipstick tube (5).
- – Pour the engine oil. Use only approved engine oils. Otherwise, it can cause engine damage.”
Step 3 : Control
- – Run the engine until operating temperature is reached and check for leaks. Coolant temperature at least 80°C.
- – Verify the engine oil level using the dipstick (4) and adjust as needed.
Insert the dipstick (4) fully into the dipstick tube (5) and hold it in this position for at least 3 seconds.
How do i reset the oil change light ? Mercedes C300
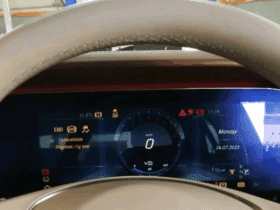
The ‘Workshop level’ menu is activated on type 205 until 31.05.2018 as follows:
- – Select total distance in the ‘Trip’ menu. Press and hold the right button of the telephone pick-up and hang-up button (S111s3) and the OK button (S110s6) simultaneously for more than 3 seconds. The instrument cluster switches to workshop level.
- – Use the next/previous button (S110s1) on the left multifunction steering wheel button group (S110) to navigate through the different menus, sub-menus, or lists.
- – Selection is made by pressing the OK button.”
These instructions appear to guide the user on how to access specific diagnostic or maintenance menus in the vehicle’s instrument cluster.

Cabin Air Filter Replacement Mercedes C300
Replacing the cabin air filter is carried out with the following steps;


Step 1 : Remove
1.1 Unlock the locking devices (2) and remove the cover (1).
Vehicle with cover (1).
1.2 Unlock the locking devices (2) and remove the cover (5).
Vehicle with cover (5).
2. Unclip the clips (6) from the air duct segment (4) and remove the air duct segment (4).
Vehicle with cover (5).
Step 2 : Remove
3.1 Remove the old dust filter (3) from the cover (1).
Vehicle with cover (1).
3.2 Remove the old dust filter (3) from the air duct segment (4).
Vehicle with cover (5).
Step 3 : Clean
4. Clean the interior of the air duct segment (4).
Vehicle with cover (5).
Step 4 : Install
5.1 Insert the new dust filter (3) into the cover (1).
Vehicle with cover (1).
The arrow marked on the dust filter (3) indicates the direction of airflow and should point towards the passenger compartment.
5.2 Install a new dust filter (3) into the air duct segment (4).
Vehicle with cover (5).
The arrow marked on the dust filter (3) indicates the direction of airflow and should point towards the passenger compartment.
6. Install the air duct segment (4) and clip the clips (6).
Vehicle with cover (5).
7.1 Install the cover (1) and lock the locking devices (2).
Vehicle with cover (1).
7.2 Install the cover (5) and lock the locking devices (2).
Vehicle with cover (5).
How to check brake discs ?
To check brake discs, follow the following instructions;

Step 1 : Remove
- – Remove the complete wheels.
Step 2 : Inspect the brake discs (1) on the front axle.
- – Check if the ceramic friction rings are contaminated.
Note : Guidelines for handling, transport, and storage of ceramic brake discs.
- – Inspect the condition of the ceramic friction rings.
- – Check if the ceramic friction rings are worn.
If the ceramic friction ring is worn, => Replace the brake disc (1).
Step 3 : Inspect the brake discs (1) on the rear axle.
- – Evaluate if the cast iron friction rings show grooves, cracks, signs of corrosion, and contamination (e.g., oil, grease).
- – Evaluate the wear of the cast iron friction rings.
If the crack length (2) is ≥ 25 mm (0.98 inches) or extends to the inner or outer edge of the friction ring, if there are open cracks or grooves deeper than 0.5 mm (0.02 inches), or if there is advanced corrosion,
↓
Replace the brake discs (1) per axle.
Step 4 : Mesurer
- – Measure the cast iron friction rings with the caliper (010).
Step 5 : Install
- – Install the complete wheels.
Inspection values for rear axle brake discs.
| anew Wear limit | mm mm | 26,0 24.0 | 22,0 19.4 |
DIY vs Dealer: Service A
| Task | DIY Possible? | Recommended |
|---|---|---|
| Oil & filter change | Yes | DIY or specialist |
| Cabin air filter | Yes | DIY |
| Brake disc inspection | Partial | Dealer for full safety check |
| Reset oil light | Yes | DIY via steering wheel buttons |
FAQs
Q: What’s the difference between Service A and Service B?
Service A is the first service (oil, fluids, tire, brake inspection). Service B includes all A tasks plus brake fluid replacement, cabin filter, and deeper checks.
Q: Can I do Service A myself?
Yes, oil changes and filter replacements can be DIY. However, fluid flushes and diagnostic resets may require professional tools.
Q: Does skipping Service A void my warranty?
Yes, skipping scheduled maintenance may affect warranty coverage and long-term vehicle reliability.
Q: How long does Service A take?
Usually 1.5–2 hours, depending on additional checks.
Conclusion
Service A in the Mercedes C300 is more than just an oil change it’s a preventive maintenance milestone that ensures your car remains safe, reliable, and efficient. By staying on schedule, you preserve performance, extend component life, and safeguard your investment.
Author Bio
Written by Mercedes Expert
With years of hands-on experience diagnosing and repairing Mercedes-Benz systems, he brings technical depth and practical case studies to help car owners, technicians, and enthusiasts troubleshoot complex automotive issues. His work focuses on clear repair guides, OEM-level procedures, and knowledge-sharing to empower both professionals and drivers.
Last update: September 2025

Leave a Reply