Table of Contents
Rear Differential Fluid Change: Complete Guide + Case Insights
Maintaining your rear differential is a crucial part of long-term vehicle reliability. As part of your Mercedes Maintenance and Service Guide, this article helps you understand why rear differential fluid changes matter, how often they should be done, and how to safely perform the service or decide when to leave it to a professional.
If you want more essential maintenance procedures, explore our dedicated hub:
Mercedes Maintenance and Service Guide
What Is a Rear Differential?
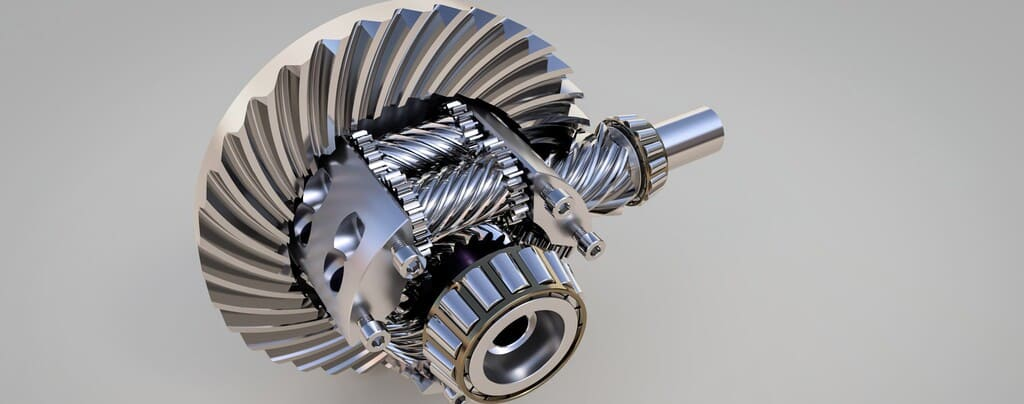
The rear differential is a vital drivetrain component that allows your rear wheels to rotate at different speeds during turns. Without it, your wheels would bind or skip, causing excessive drivetrain wear, unstable cornering, and unsafe handling.
The differential contains gears, bearings, and clutches (in some models), all of which require proper lubrication to function smoothly.
Why Rear Differential Fluid Must Be Changed
The gear oil inside the differential:
- – Lubricates gears and bearings
- – Prevents overheating caused by friction
- – Reduces metal wear
- – Carries away debris and metal particles
Over time, this fluid breaks down due to:
- – Heat cycles
- – Contaminants (metal shavings, moisture, debris)
- – Oxidation of the oil
Old differential fluid loses its viscosity, offering weaker protection. This accelerates wear and can ultimately lead to differential failure an expensive repair.
Signs Your Mercedes Needs a Differential Fluid Change
Watch for these early symptoms:
1. Whining or Grinding Noises
A high-pitched whine or grinding from the rear indicates metal friction due to poor lubrication.
2. Vibrations While Driving
Vibrations while accelerating or turning can be linked to differential lubrication issues.
3. Visible Leaks
Gear oil leaks are thick and smell like sulfur. Leaks around the differential housing or axle seals require immediate attention.
4. Poor Handling During Turns
Difficulty turning smoothly or feeling “dragging” at the rear wheels may point to degraded fluid.
How Often Should You Change Rear Differential Fluid?
Manufacturer Guidelines
Most Mercedes-Benz models require a fluid change every:
30,000 to 60,000 miles (50,000–100,000 km)
Always confirm for your exact model in your owner’s manual.
Factors That Require More Frequent Service
| Condition | Effect |
|---|---|
| Regular towing / heavy loads | Increased heat + gear stress |
| Off-road driving | Contaminants enter housing |
| Extreme temperatures | Faster oil degradation |
| High mileage vehicles | Reduced gear tolerances |
If your Mercedes is used heavily, changing the fluid every 30,000 miles is recommended.
DIY vs. Professional Service: Which Is Better?
DIY Is Possible If You Have:
- – Mechanical experience
- – A safe lifting method
- – The correct tools and fluid
Professional Service Recommended When:
- – Differential is leaking
- – You hear grinding or whining
- – You suspect internal wear
- – The vehicle uses an electronically controlled differential (e.g., 4MATIC rear units)
A small mistake like using incorrect fluid can damage the differential.
Tools & Materials Needed for Rear Differential Fluid Change
Tools
- – Wrenches / socket set
- – Drain pan
- – Jack + jack stands or lift
- – Fluid pump
- – Torque wrench
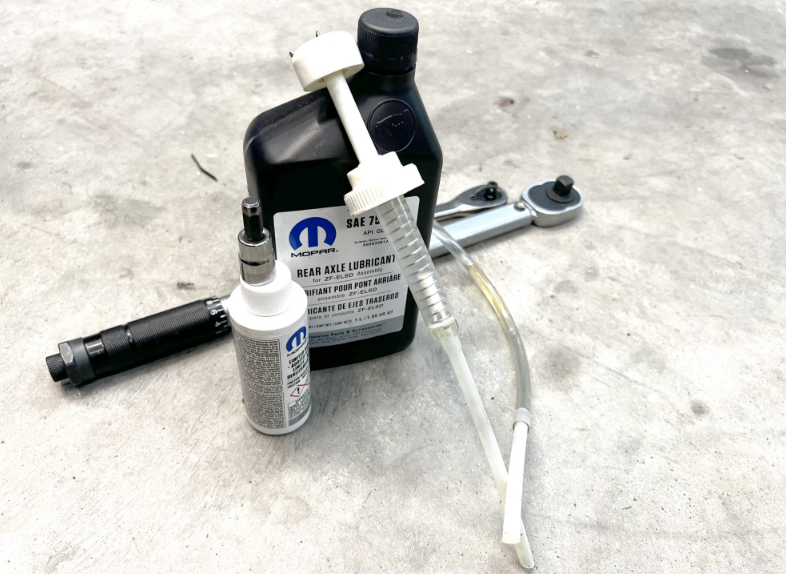
Materials
- – Correct differential fluid (Mercedes specification required)
- – Replacement gasket or RTV sealant
- – Cleaning materials (rag, degreaser)
How to Change Rear Differential Fluid (Step-by-Step)
1. Preparation
- – Park on level ground
- – Engage the parking brake
- – Safely lift the rear of the vehicle
- – Wear protective gloves
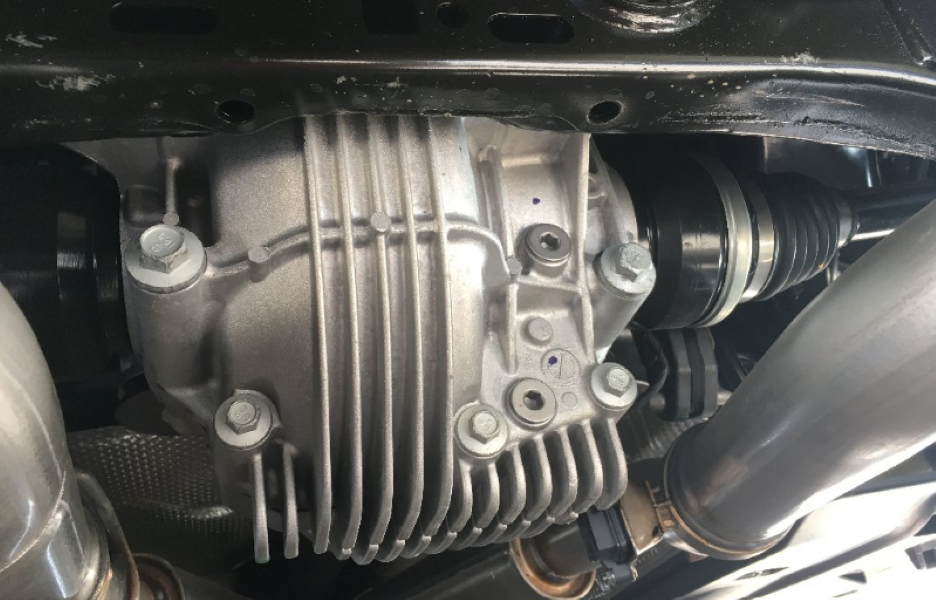
2. Locate the Differential
The unit is positioned between the rear wheels. Your manual shows the exact plug locations.
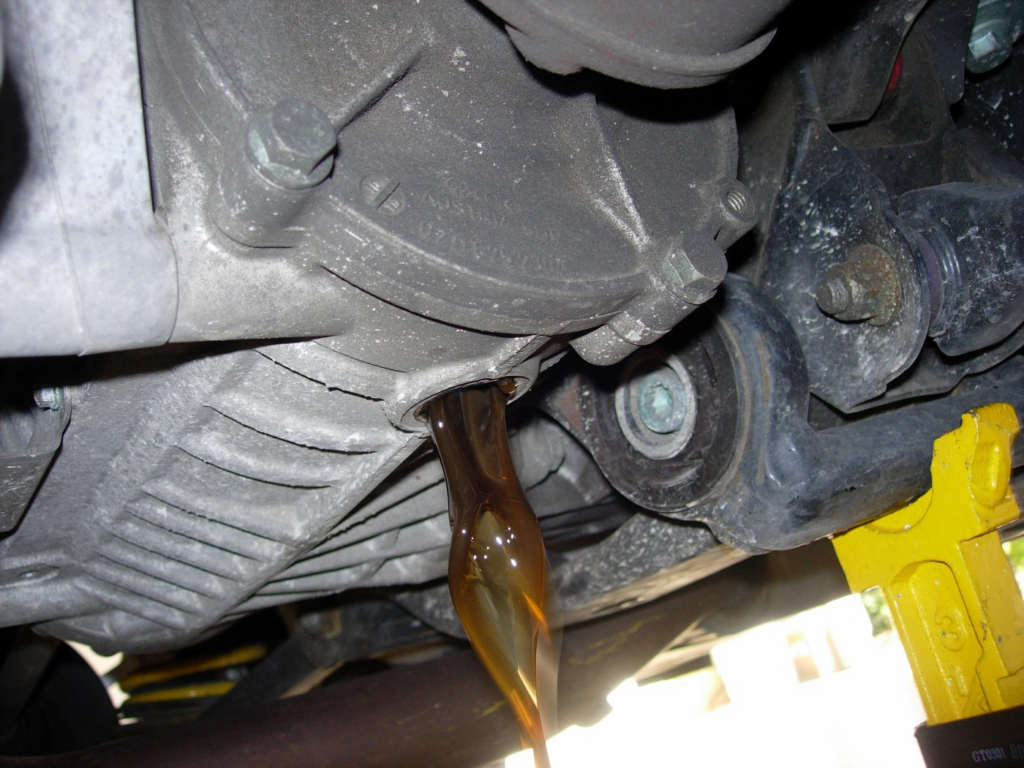
3. Drain the Old Fluid
- 1. Remove the fill plug first to confirm it can be opened.
- 2. Position a drain pan under the differential.
- 3. Remove the drain plug and allow fluid to fully empty.
Tip:
Dark, metallic, or burnt-smelling fluid indicates overdue maintenance.
4. Clean and Inspect
- – Look inside for metal shavings
- – Clean the housing and magnet
- – Ensure threads and surfaces are clean
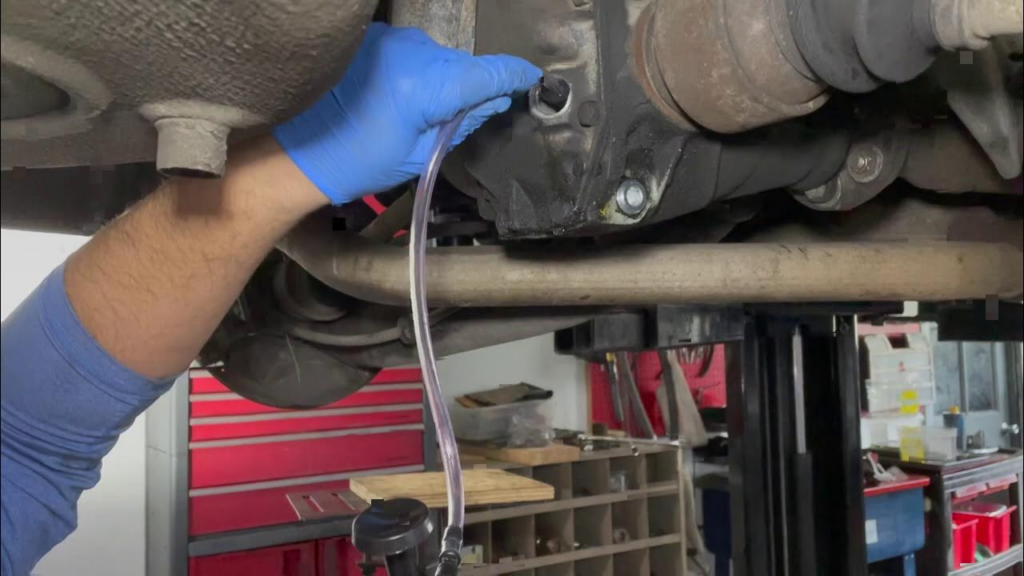
5. Refill With New Fluid
- 1. Install a new gasket or apply sealant.
- 2. Reinstall the drain plug.
- 3. Pump new fluid into the fill hole until it slightly overflows.
- 4. Tighten the fill plug to the correct torque.
6. Finalization
- – Lower the vehicle
- – Clean any spilled oil
- – Test-drive the vehicle
- – Recheck for leaks
What Happens If You Don’t Change Rear Differential Fluid?
Neglecting differential fluid maintenance can cause:
- – Excessive metal wear
- – Bearing or gear failure
- – Overheating
- – Whining or grinding noises
- – Loss of traction
- – Complete differential seizure
Differential replacement can cost €1,500–€4,000, compared to a simple fluid service of €100–€250.
How to Tell If Your Differential Fluid Is Low
You may notice:
- – Whining noise while accelerating
- – Burning oil smell
- – Poor traction
- – Clunking when shifting to Drive or Reverse
- – Fluid seepage under the rear axle
You can also manually check by removing the fill plug and inspecting fluid level/condition.
How to replace rear differential ?
If you have a Mercedes GL and you would like to replace the rear differential, follow the next steps;
- 1. Block the vehicle on the lift
- 2. Remove the drive shaft at the differential flange
- 3. Remove the left rear axle shaft
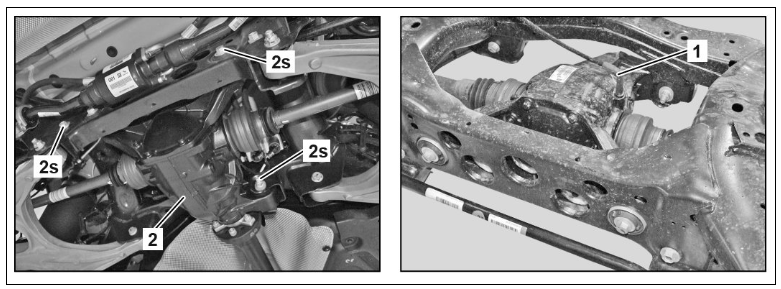
- 4. Remove the bleed hose (1) from the differential (2)
- 5. Support and secure the differential (2) with the component support and the mounting plate
- 6. Unscrew the bolts (2s)
- 7. Chock the right rear axle shaft to prevent it from falling
- 8. Dislodge the right rear axle shaft from the differential (2) by levering
- 9. Lower the differential (2)
Conclusion
Regular rear differential fluid changes are simple but essential maintenance for any Mercedes-Benz. They prevent wear, eliminate noise, extend drivetrain life, and ensure smooth handling.
Following this guide or consulting a qualified technician helps keep your Mercedes running flawlessly and avoids costly differential failures.
For more essential maintenance tips, visit:
Mercedes Maintenance and Service Guide
— Salim, Mercedes Expert
Independent specialist in Mercedes-Benz diagnostics, CAN Bus analysis, troubleshooting case studies, and EV systems.