Table of Contents
Fuel Needle Not Working: A Diagnostic Case Study in Mercedes-Benz CLA W118
The fuel gauge is a crucial component of any vehicle, providing drivers with real-time information about their fuel levels. When the Fuel Needle Not Working correctly, it can lead to serious inconveniences and potentially leave drivers stranded with an empty tank.
In this article, we will explore a real-world case study involving a Mercedes-Benz CLA W118 equipped with the M282 Engine, where the fuel needle was not functioning properly after the vehicle was recently filled with fuel.
Vehicle Profile: Mercedes-Benz CLA W118
– Model: Mercedes-Benz CLA W118
– Engine: M282
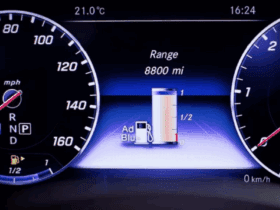
– Complaint: Recently filled fuel, but the fuel needle is not showing the correct level.
Customer Complaint
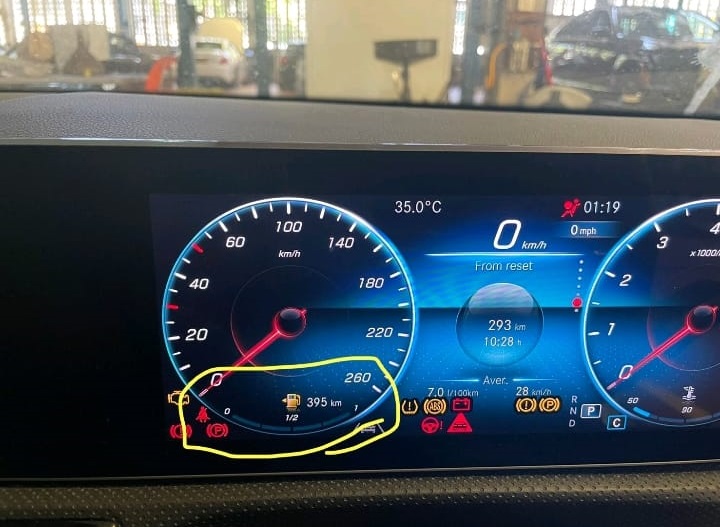
The customer brought their Mercedes-Benz CLA W118 to the workshop with a complaint that the fuel needle was not working properly. Despite recently filling the fuel tank, the needle remained stationary and did not reflect the accurate fuel level. This issue, where the Fuel Needle Not Working, can cause unnecessary stress and uncertainty for drivers.
Diagnostic Process
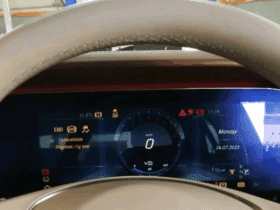
Upon receiving the vehicle, the first step was to verify the customer’s concern. A thorough inspection confirmed that the Fuel Needle Not Working was indeed the issue, with the needle stuck in place, not moving despite the fuel tank being full.
- Fault Verification: The diagnostic tool was connected to the vehicle’s system to check for any error codes or anomalies. The actual values for the fuel level were monitored, and it was discovered that the fuel level sensor was reading 0, even though the tank was full.
- Fuel Pump Calculator Fault: The diagnosis revealed a fault within the fuel pump calculator, which is responsible for processing the signals from the fuel level sensor. The actual value from the sensor was consistently showing 0, indicating that the sensor was either faulty or not communicating properly with the calculator.
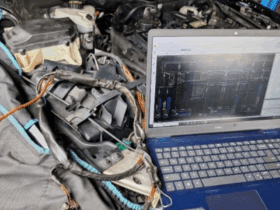
- Wiring and Sensor Inspection: A detailed inspection of the wiring and the fuel level sensor was conducted using the vehicle’s wiring diagram. All connections were checked to ensure there were no breaks or shorts in the wires. The fuel level sensor itself was also tested and found to be in proper working condition.
- Faulty Fuel Pump Calculator: After ruling out wiring and sensor issues, the last possible cause was identified as a faulty fuel pump calculator. The fuel pump calculator’s role is to translate the fuel level sensor’s signals to the fuel needle on the dashboard. If this component fails, it can lead to the Fuel Needle Not Working accurately.
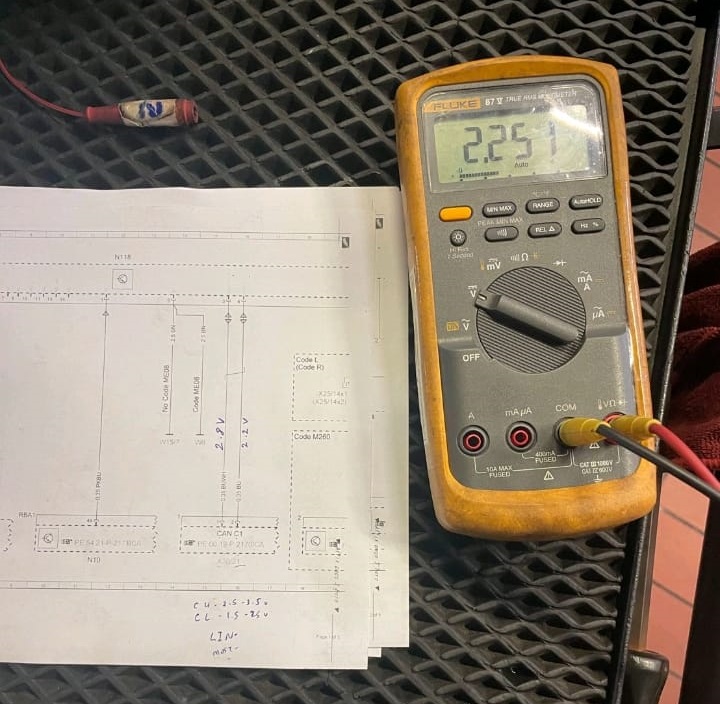
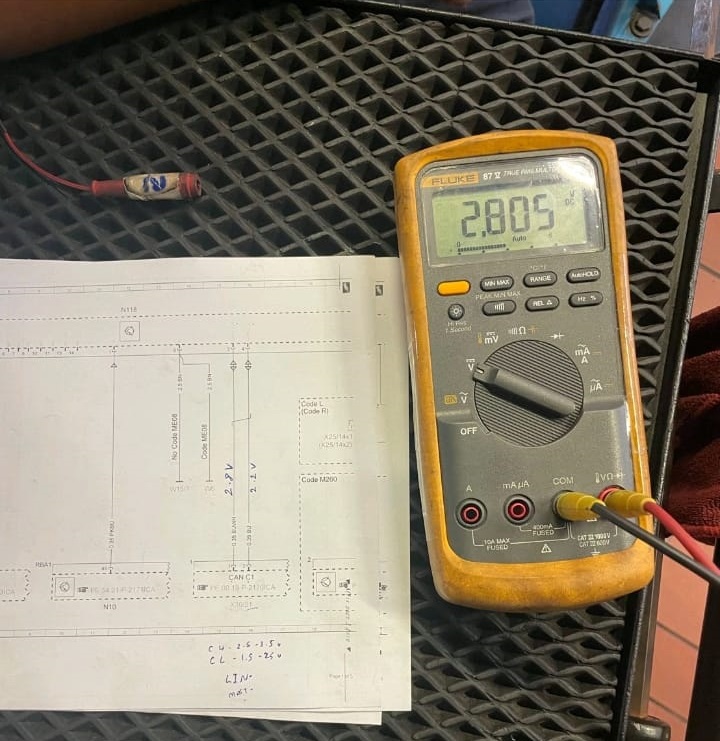
Solution: Fuel Pump Calculator Replacement
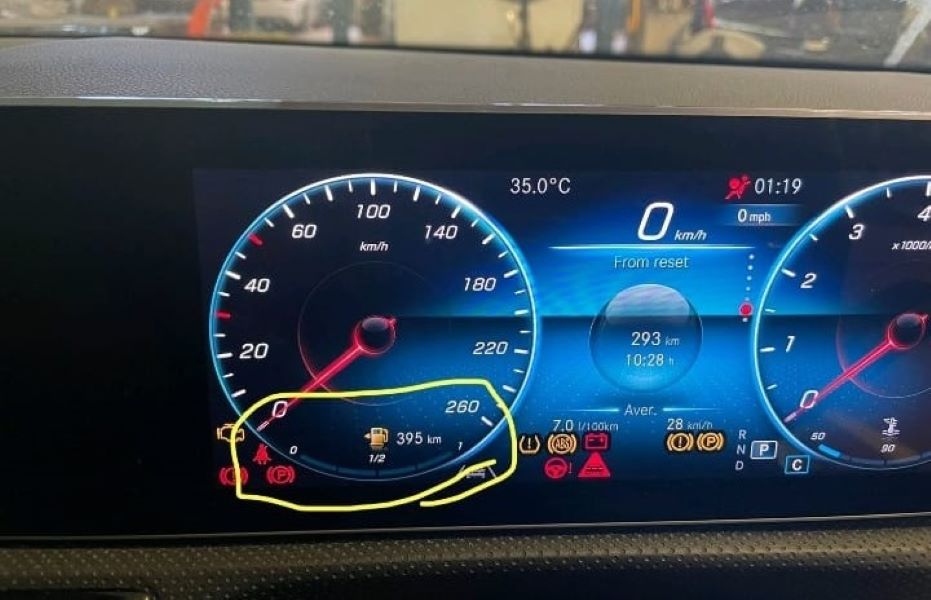
With the diagnosis complete, the faulty fuel pump calculator was replaced. Once the replacement was made, the system was recalibrated, and the fuel needle immediately began to function correctly, reflecting the actual fuel level in the tank.

Conclusion
In this case study of a Mercedes-Benz CLA W118, the issue of the Fuel Needle Not Working was traced back to a faulty fuel pump calculator. The diagnostic process involved verifying the fault, inspecting the wiring and sensor, and ultimately replacing the calculator. After the repair, the fuel needle functioned as intended, providing the customer with accurate fuel level readings.
How to fix fuel gauge not working?
Fixing a fuel gauge that is not working can involve several steps, depending on the underlying cause. Here’s a general guide to help you diagnose and fix the issue:
1. Check the Fuel Gauge Fuse
- Locate the Fuse Box: Find the fuse box in your vehicle, usually located under the dashboard or in the engine compartment.
- Identify the Fuel Gauge Fuse: Use the fuse diagram to identify the fuel gauge fuse.
- Inspect and Replace if Necessary: If the fuse is blown, replace it with one of the same amperage. A blown fuse is a common and simple fix.
2. Inspect the Fuel Gauge Itself
- Dashboard Test: Turn on the ignition and observe the fuel gauge. If it remains in the same position, the gauge itself might be faulty.
- Remove and Test: If you are comfortable with vehicle electronics, you can remove the fuel gauge from the dashboard and test it with a multimeter. If it’s defective, it may need replacement.
3. Check the Wiring
- Visual Inspection: Inspect the wiring connected to the fuel gauge, especially at the back of the dashboard and near the fuel tank.
- Look for Corrosion or Breaks: Wiring issues, such as corrosion, loose connections, or breaks, can prevent the gauge from receiving signals. Repair or replace any damaged wires.
4. Test the Fuel Sending Unit
- Access the Fuel Sending Unit: The sending unit is usually located inside the fuel tank and can be accessed through a panel in the trunk or under the rear seat.
- Test the Unit: Use a multimeter to test the resistance of the sending unit. The resistance should change as the float moves. If it doesn’t, the sending unit may be faulty and need replacement.
5. Examine the Fuel Pump and Sensor
- Fuel Pump Inspection: In modern vehicles, the fuel pump and sensor often work together. A malfunctioning sensor on the pump can lead to inaccurate fuel readings.
- Replace if Faulty: If the sensor or pump is faulty, replacing the entire assembly might be necessary, especially if the vehicle has high mileage.
6. Check for Instrument Cluster Issues
- Cluster Problems: Sometimes, the issue lies in the instrument cluster itself rather than the fuel gauge. A faulty cluster might require professional repair or replacement.
7. Perform a System Reset
- Reset the Vehicle’s Computer: In some cases, resetting the vehicle’s computer by disconnecting the battery for a few minutes can resolve minor glitches causing the fuel gauge to malfunction.
Conclusion
Fixing a fuel gauge that is not working involves checking the fuse, gauge, wiring, sending unit, and fuel pump, along with considering potential issues with the instrument cluster. While some fixes are straightforward, others may require professional assistance. Proper diagnosis is key to ensuring the gauge functions correctly and provides accurate readings.


Leave a Reply