Table of Contents
Case Study: “Stop Vehicle Vehicle Too Low” Warning in a Mercedes-Benz CLS W257
The “Stop Vehicle Vehicle Too Low” warning is one of the most serious alerts that can appear on a Mercedes-Benz equipped with AIRMATIC suspension. Unlike minor suspension notifications, this warning indicates that the vehicle has dropped to an unsafe ride height. Driving in this condition can compromise handling, comfort, and safety, and may cause further damage if ignored.
In this case study, we explore a real-world scenario involving a Mercedes-Benz CLS C257. The vehicle arrived with the front right side sitting significantly lower than the rest of the car, accompanied by the “Stop Vehicle Vehicle Too Low” warning. We’ll walk through the diagnostic process, pinpoint the root cause, detail the repair steps, and provide practical insights for Mercedes owners dealing with similar suspension problems.
Understanding the Warning
When this warning appears, it typically means the air suspension system has lost pressure in one or more corners of the vehicle. Possible causes include:
- – Air leaks in struts, fittings, or air lines.
- – Faulty valve block preventing correct air distribution.
- – Compressor failure (unable to build pressure).
- – Sensor or control module malfunction.
In this case, the problem was localized to the front right suspension system.
Customer Complaint
- Vehicle: Mercedes-Benz CLS W257
- Complaint: Front right suspension too low and dashboard warning: “Stop Vehicle Vehicle Too Low”.
The owner was concerned about both safety and drivability, as the lowered stance made the car difficult to operate and risked further suspension damage.
Diagnostic Process
Step 1: Complaint Verification
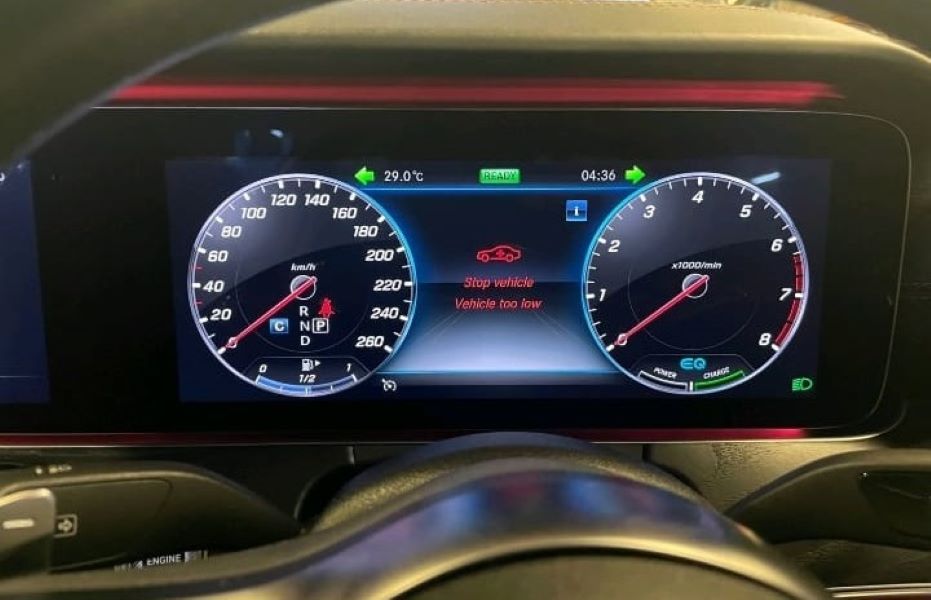
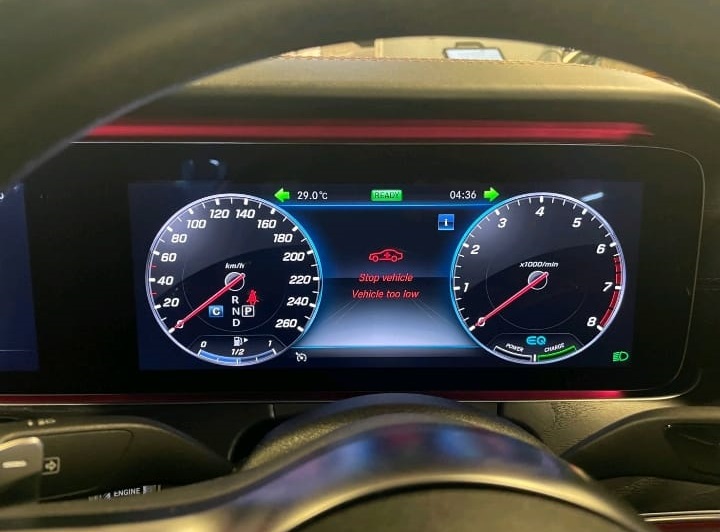
The vehicle was brought into the workshop, and the issue was verified:
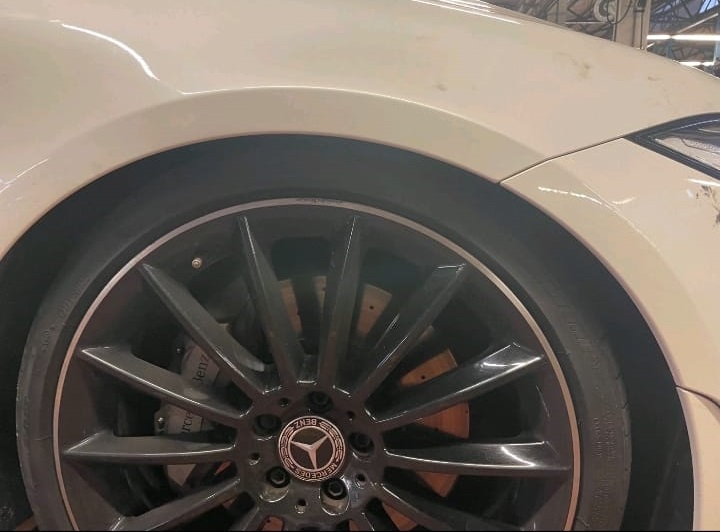
- – Front right suspension was visibly lower than the other wheels.
- – Dashboard displayed the “Stop Vehicle Vehicle Too Low” warning.

Step 2: Xentry Diagnostic Scan
Using Mercedes-Benz Xentry Star Diagnostics, the suspension system was scanned. Fault codes confirmed:
- – A malfunction in the front right suspension level.
This narrowed the issue to either the valve block or the air strut and its fittings.
Step 3: Narrowing the Fault
Block Valve Check
The block valve controls air supply to the suspension struts. It was tested for leaks or malfunction:
- – No air leaks detected.
- – Function was normal.
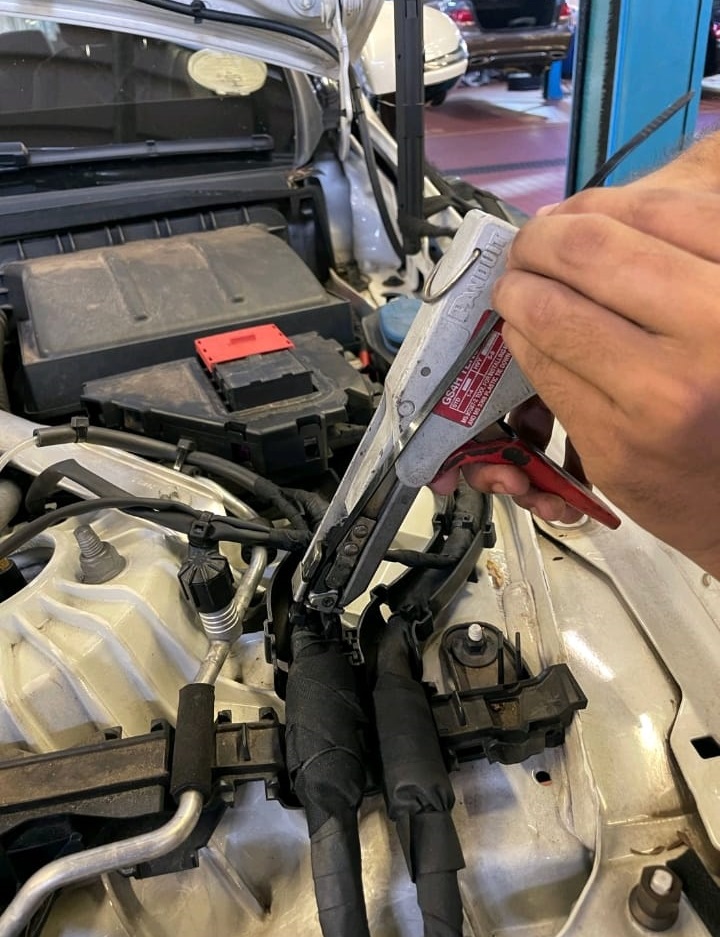
Front Right Air Strut Inspection
Focus shifted to the front right strut and its connections. During the inspection of the air line fittings:
- – A leak was discovered in the air line fitting.
- – This leak caused air pressure loss, leading to the lowered stance and triggered warning.
Repair Process
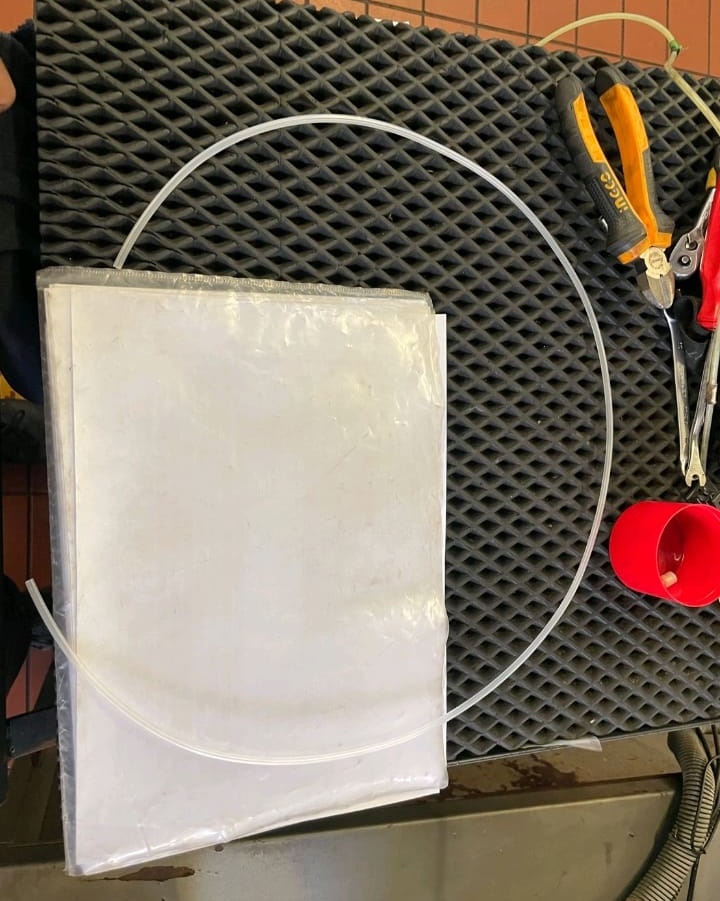
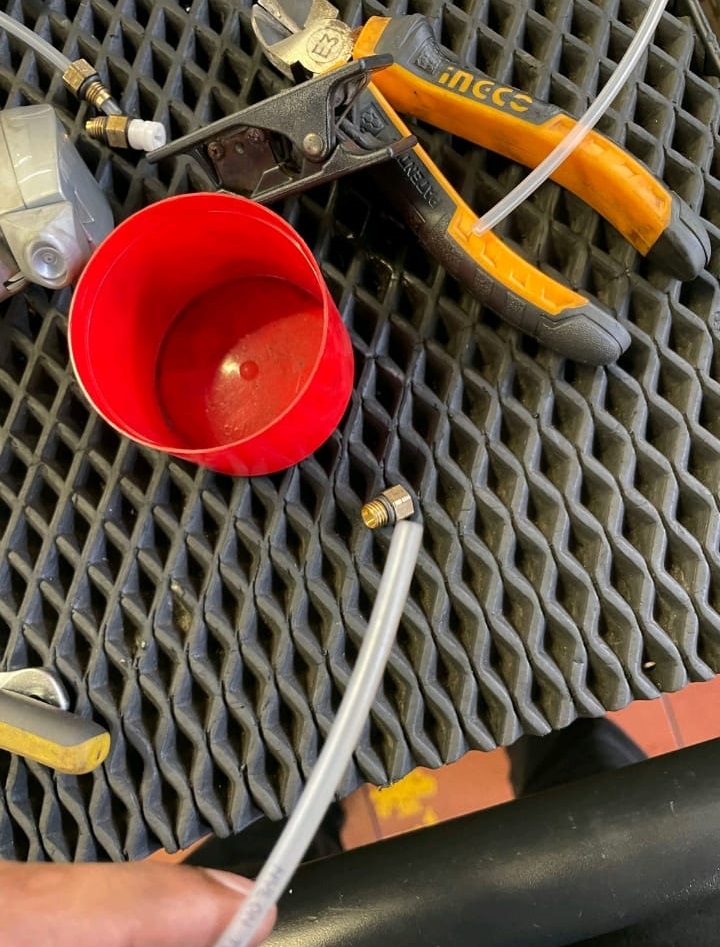
Step 1: Replacement of Faulty Air Line Fitting
- – Removed the damaged fitting at the front right strut.
- – Installed a new OEM air line fitting.
- – Ensured all connections were secure and airtight.
Step 2: System Check & Calibration
- – Re-ran Xentry diagnostic tests.
- – No leaks detected after repair.
- – Suspension system recalibrated to restore proper height levels.
Step 3: Final Test
- – Activated suspension system: the front right side rose normally.
- – The warning disappeared from the dashboard.
- – Conducted a test drive: ride was smooth, suspension balanced, and no further warnings appeared.
Symptom –> Cause –> Fix Table
| Symptom | Likely Cause | Repair Solution |
|---|---|---|
| “Stop Vehicle Vehicle Too Low” warning | Air leak in strut, fitting, or line | Inspect and replace damaged fitting or strut |
| Vehicle leaning to one side | Leak in specific suspension corner | Identify faulty component, replace and recalibrate |
| Car fails to rise after ignition | Compressor failure or valve block issue | Test compressor/valve block, replace defective part |
| Warning appears intermittently | Sensor or wiring fault | Check ride height sensors and wiring harness |
| Rough or bouncy ride | Loss of damping function | Replace faulty air strut or damping valve |
Explore More Mercedes Suspension Issues
For a deeper dive into suspension problems such as uneven ride height, AIRMATIC malfunctions, “Stop Vehicle Too Low” warnings, and vibration faults, visit our hub: Mercedes-Benz Suspension Issues – Symptoms, Causes & Fixes. There you’ll find grouped case studies, step-by-step diagnostics, symptom, cause, fix tables, and preventive tips to keep your Mercedes riding smoothly.
Why Air Suspension Failures Occur in the CLS W257
The AIRMATIC system in the CLS W257 relies on pressurized air to maintain ride height. Failures usually occur because of:
- – Age-related wear on rubber seals and fittings.
- – Moisture or debris causing leaks in air lines.
- – Continuous compressor use when leaks exist, leading to burnout.
- – Valve block malfunction disrupting air distribution.
- – Faulty sensors sending incorrect ride height data.
Symptoms Mercedes Owners Should Watch For
- – Dashboard warning: “Stop Vehicle Vehicle Too Low.”
- – Vehicle sagging on one side, especially overnight.
- – Compressor running excessively or making unusual noise.
- – Rougher or bumpier ride than normal.
- – Suspension unresponsive to mode changes (Comfort/Sport).
FAQs: Stop Vehicle Vehicle Too Low Mercedes
Q: Is it safe to drive with the “Stop Vehicle Vehicle Too Low” warning?
A: No. The vehicle is unsafe in this condition. Ride stability and handling are compromised, and driving could cause additional suspension damage.
Q: How much does it cost to repair this issue?
A: Costs vary depending on the fault. A simple air line fitting replacement may cost $300–$500, but strut or compressor replacement can range from $1,000–$2,500.
Q: Can I reset the AIRMATIC system myself?
A: Minor resets are possible, but if the car is sagging or showing this warning, it indicates a mechanical issue that requires professional repair.
Q: How long does the CLS W257 AIRMATIC suspension last?
A: With proper maintenance, most components last 6–10 years. However, fittings and air lines are more prone to early leaks.
Q: Should I replace one air strut or both?
A: If only one strut is leaking, you can replace it individually. However, many workshops recommend replacing in pairs for balance and longevity.
Conclusion
The “Stop Vehicle Vehicle Too Low” warning in the Mercedes-Benz CLS W257 is more than just a dashboard alert it’s a critical signal that the air suspension system has failed in one corner.
In this case study, the fault was traced to a damaged air line fitting on the front right strut. By replacing the fitting, recalibrating the suspension, and performing thorough testing, the issue was fully resolved.
This example shows the importance of:
- 1. Accurate diagnostics using tools like Xentry.
- 2. Step-by-step inspections of valves, struts, and fittings.
- 3. Timely repairs to avoid more expensive component failures.
For Mercedes owners, the key takeaway is clear: never ignore the “Stop Vehicle Vehicle Too Low” warning. Prompt action restores safety, comfort, and the premium driving experience expected from a Mercedes-Benz.
— Salim, Mercedes Expert
Independent specialist in Mercedes-Benz diagnostics, CAN Bus analysis, troubleshooting case studies, and EV systems.