Table of Contents
How to Diagnose and Fix a Boost Leak in Mercedes-Benz C300 W204 with M271 Engine
A boost leak is a common issue that can affect turbocharged vehicles like the Mercedes-Benz C300 W204 equipped with the M271 engine. If left unchecked, it can lead to a range of performance problems, including low power output, reduced fuel efficiency, and even triggering the engine warning light. In this article, we will walk you through a Boost Leak Check case study to help you understand how to diagnose and fix a vacuum leak effectively.
We will explore the customer’s complaint, the diagnostic steps carried out by a qualified technician using advanced tools like the Xentry diagnostic system, and the repair process that restored the vehicle’s performance.

Vehicle: Mercedes-Benz C300 W204 Equipped with M271 Engine
This case revolves around a customer who brought their Mercedes-Benz C300 W204 to the dealership, concerned about a warning light on the dashboard. The vehicle was equipped with the M271 turbocharged engine, known for both its power and occasional reliability issues.

Customer Complaint: Engine Light Appears
The customer reported that the check engine light had come on, causing concern about the health of the vehicle. Apart from the warning light, the driver also noticed some loss of power during acceleration, hinting at a possible issue with the turbo system.
Step 1: Diagnostic Procedure Using Xentry
Upon arrival at the dealership, the vehicle was assigned to a qualified technician. The technician connected Xentry Diagnostics, Mercedes-Benz’s proprietary diagnostic tool, to scan the car’s ECU for fault codes.
- Fault Code Identified: The system reported low boost pressure. This pointed to a potential issue within the boost system but needed further inspection to narrow down the cause.
The technician ruled out an internal turbocharger problem by running a turbocharger efficiency test using the diagnostic tool. The turbo was functioning properly, suggesting the issue was elsewhere in the system likely a boost leak or a vacuum leak.
Step 2: Hard Diagnosis with a Boost Leak Tester
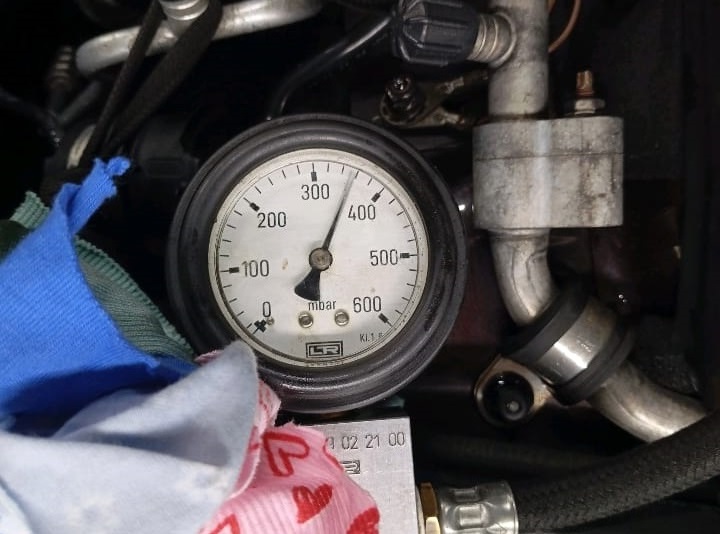
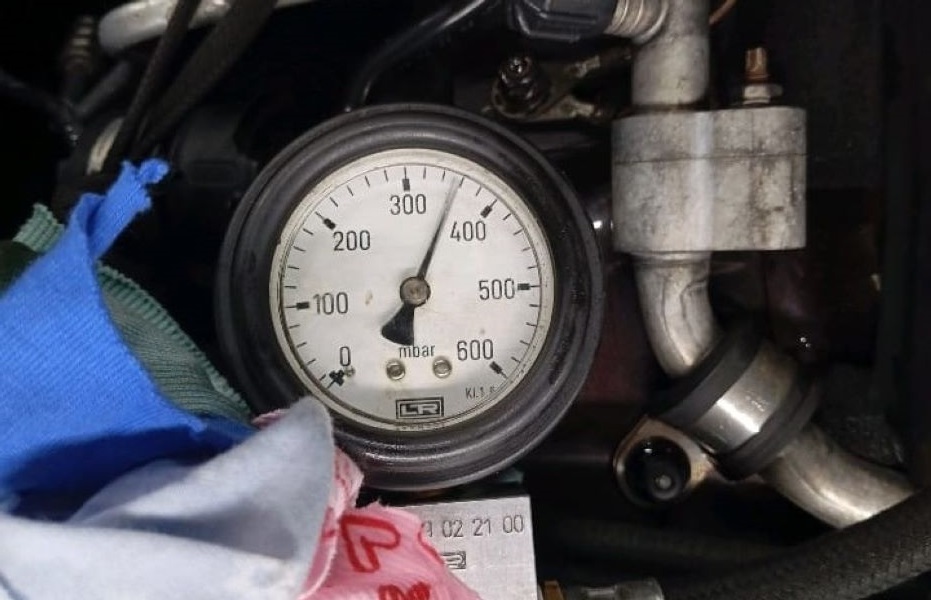
Since the fault code pointed towards low boost pressure, the technician decided to perform a Boost Leak Check. This step is critical to identify any leaks along the intake system that could cause pressure loss.

Using a boost leak tester, the technician pressurized the intake system and listened for leaks. After carefully inspecting each connection, he detected a vacuum leak in the intake manifold. Even a small leak in this area can lead to insufficient pressure in the system, causing the engine to underperform and trigger a check engine light.


Step 3: Intake Manifold Replacement
Once the boost leak check identified the issue in the intake manifold, the technician removed the faulty manifold and replaced it with a new one.
Key Steps for Manifold Replacement:
- Disconnect the Battery: Ensures safety and prevents electrical issues.
- Remove Engine Cover: Provides access to the intake manifold.
- Disconnect Hoses and Sensors: Carefully detach all hoses, sensors, and vacuum lines connected to the manifold.
- Unbolt the Intake Manifold: Remove the mounting bolts and take out the old manifold.
- Install the New Manifold: Fit the new manifold into place and secure it with the bolts.
- Reconnect Sensors and Hoses: Reattach everything correctly to ensure proper airflow.
- Reset the ECU: Clear any remaining fault codes using the Xentry diagnostic tool.
Step 4: Problem Solved Smooth Engine Performance Restored
After replacing the intake manifold, the technician performed another boost leak check to ensure there were no further leaks. The pressure test confirmed the system was now airtight.
The Xentry diagnostic tool was used to clear the fault codes, and the vehicle was taken for a test drive to verify that the engine warning light did not return. The customer was delighted with the repair, and the car regained its normal performance without any signs of low boost pressure.
Tips for DIY Boost Leak Check
If you are a DIY enthusiast or an owner of a turbocharged Mercedes-Benz, performing your own boost leak check can save you from costly repairs. Here’s how you can carry out a simple boost leak test:
- Gather a Boost Leak Tester: You can purchase or rent a tester specifically designed for pressurizing the intake system.
- Find the Correct Test Port: This is usually located between the turbo and the intake manifold.
- Pressurize the System: Attach the tester to the intake pipe and pump air into the system using a tire inflator or a manual air pump.
- Listen for Leaks: A hissing sound will indicate the location of the leak. You can use a spray bottle with soapy water to confirm bubbles will form where the leak is.
- Fix the Leak: Once identified, tighten clamps or replace damaged hoses or components as needed.
Conclusion: Importance of a Boost Leak Check
This Boost Leak Check case study demonstrates the importance of a thorough diagnosis when dealing with turbocharged engines like the M271 in the Mercedes-Benz C Class W204. Vacuum leaks, especially in critical components like the intake manifold, can lead to low boost pressure, triggering engine lights and performance issues.
By performing a boost leak check, you can prevent misdiagnosis, save time, and avoid costly repairs. Whether you are a technician or a car enthusiast, mastering this diagnostic step is essential for maintaining turbocharged engines in optimal condition.


Leave a Reply